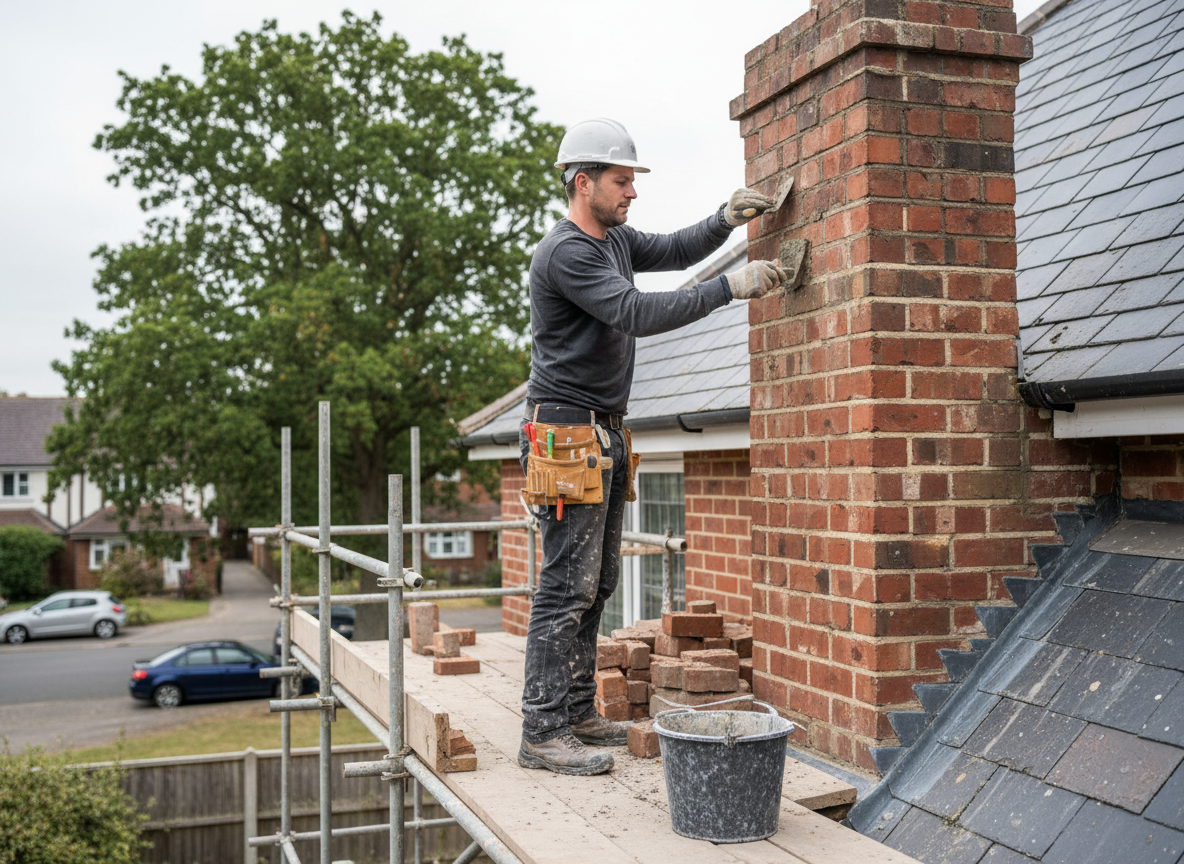
Brick chimneys in Oakley homes built before 1950 often suffer from mortar joint erosion due to repeated freeze-thaw cycles common in southwest Ohio winters. Water enters through hairline cracks, expands when frozen, and loosens bricks over successive seasons. Unity Wrench technicians at 3075 Vandercar Way assess flue liner condition, crown integrity, and flashing before selecting repair methods that match the original masonry.
Edge cases include chimneys sharing walls with neighboring properties in dense Oakley blocks, where vibration from repairs can affect adjacent structures. Code compliance requires maintaining proper clearances and using compatible mortar mixes that allow breathability in historic brick. Homeowners sometimes overlook spalling on the north-facing side, where sun exposure is lowest and moisture lingers longest after rain.
When repointing, crews remove only the damaged mortar to avoid weakening sound joints, then tool new mortar to shed water away from the brick face. Full brick replacement becomes necessary once more than 20 percent of a course shows significant deterioration. These targeted interventions prevent water from reaching interior framing during Cincinnati's heavy spring rains.
Technician insight
In Oakley, the thing that catches most people out with brick chimney repair is how quickly north-side mortar fails on pre-war homes because those walls never dry between rains. Homeowners often focus on the south face that looks worse from sun exposure while missing the hidden water damage on the shaded side that lets moisture reach the framing.
Oakley Brick Chimney Repoint
A 1920s Oakley brick home showed interior ceiling stains after heavy spring rain. Inspection revealed failed mortar on the north elevation allowing water past the flashing. Crews repointed the affected courses and resealed the crown. No further leaks appeared during the next winter freeze-thaw cycle.
How it works
- 1
Site Assessment
Technician inspects the chimney from roof to cleanout, checking for loose bricks, failed mortar, and water intrusion points.
- 2
Material Matching
Select mortar and brick that match the existing chimney's composition and color to maintain structural and visual integrity.
- 3
Repair Execution
Remove damaged sections, repoint joints, replace individual bricks, and reseal the crown and flashing as needed.
- 4
Final Verification
Test draft, confirm water shedding, and walk the homeowner through visible changes before leaving the site.
Pricing
Pricing depends on chimney height, extent of brick damage, and access conditions; upfront quotes provided before work begins.