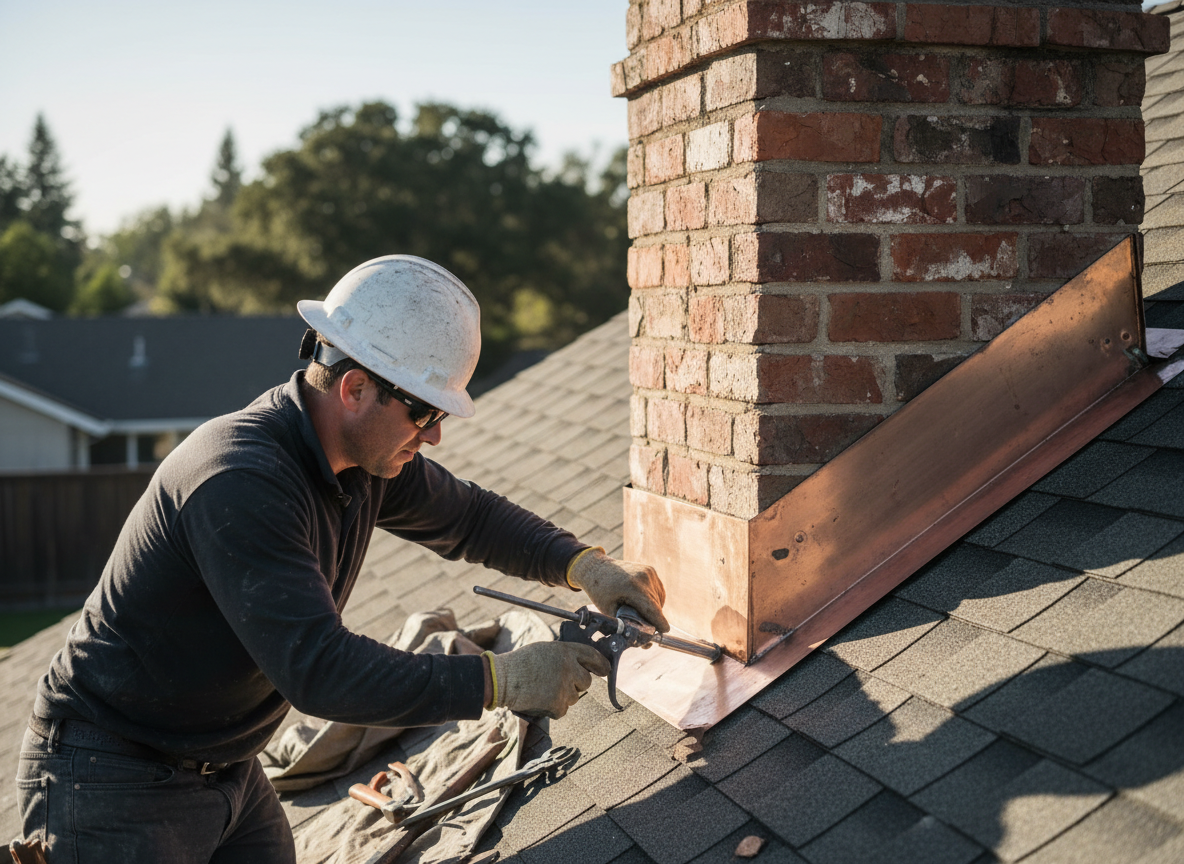
Chimney flashing repair addresses the metal strips that seal the chimney to the roof deck. In Oakley homes built mostly between the 1920s and 1960s, original flashing is often lead or copper that has corroded at the step joints where it meets asphalt shingles. Water enters at these points during heavy spring rains common along the Mill Creek corridor and travels down the sheathing, rotting rafters before any interior stain appears.
Technicians remove the old counter flashing without disturbing the cricket or step flashing already embedded under shingles. New flashing is cut from 16-ounce copper or painted aluminum to match the existing roof pitch and chimney brick profile. Sealant is applied only at the top edge of the counter flashing, never as a substitute for proper mechanical attachment, because Cincinnati building code requires the flashing to shed water even if the sealant fails.
Edge cases include chimneys that share a wall with a neighbor in Oakley’s denser blocks. Access from the adjacent roof is often restricted, requiring scaffolding on the street side. When the flue liner has shifted due to past settling, the new flashing must be formed with an extra kick-out at the back to keep runoff from entering the liner gap.
Homeowners sometimes confuse flashing leaks with crown cracks. A proper diagnosis involves a water test from the roof rather than a hose on the ground, because ground-level testing misses the overlap failures that only appear when water flows down the roof slope at normal volume.
Technician insight
In Oakley, the thing that catches most people out with chimney flashing repair is the hidden step flashing under the shingles on the uphill side. Homes here sit on clay soil that expands and contracts with freeze-thaw cycles, so the chimney often settles a quarter-inch over twenty years and opens a gap right where the flashing was never re-formed to follow the movement.
Uphill Side Leak on Hyde Park Border
Water stains appeared on the second-floor ceiling of an Oakley bungalow after repeated spring storms. We found the original copper step flashing had pulled away from the brick where the chimney had settled. We removed three courses of shingles, fabricated new copper step and counter flashing with a deeper kick-out, reinstalled the shingles, and the ceiling stayed dry through the next heavy rain.
How it works
- 1
Site Assessment
Inspect flashing overlaps, step joints, and cricket condition from the roof surface.
- 2
Material Removal
Carefully lift shingles and extract corroded flashing without damaging the existing step flashing.
- 3
Custom Fabrication
Cut and bend new flashing on site to match roof pitch and chimney dimensions.
- 4
Installation and Testing
Secure new flashing, reinstall shingles, then perform a controlled water test to confirm the seal.
Pricing
Upfront quotes provided after roof inspection; price varies with chimney height, roof access, and material choice.