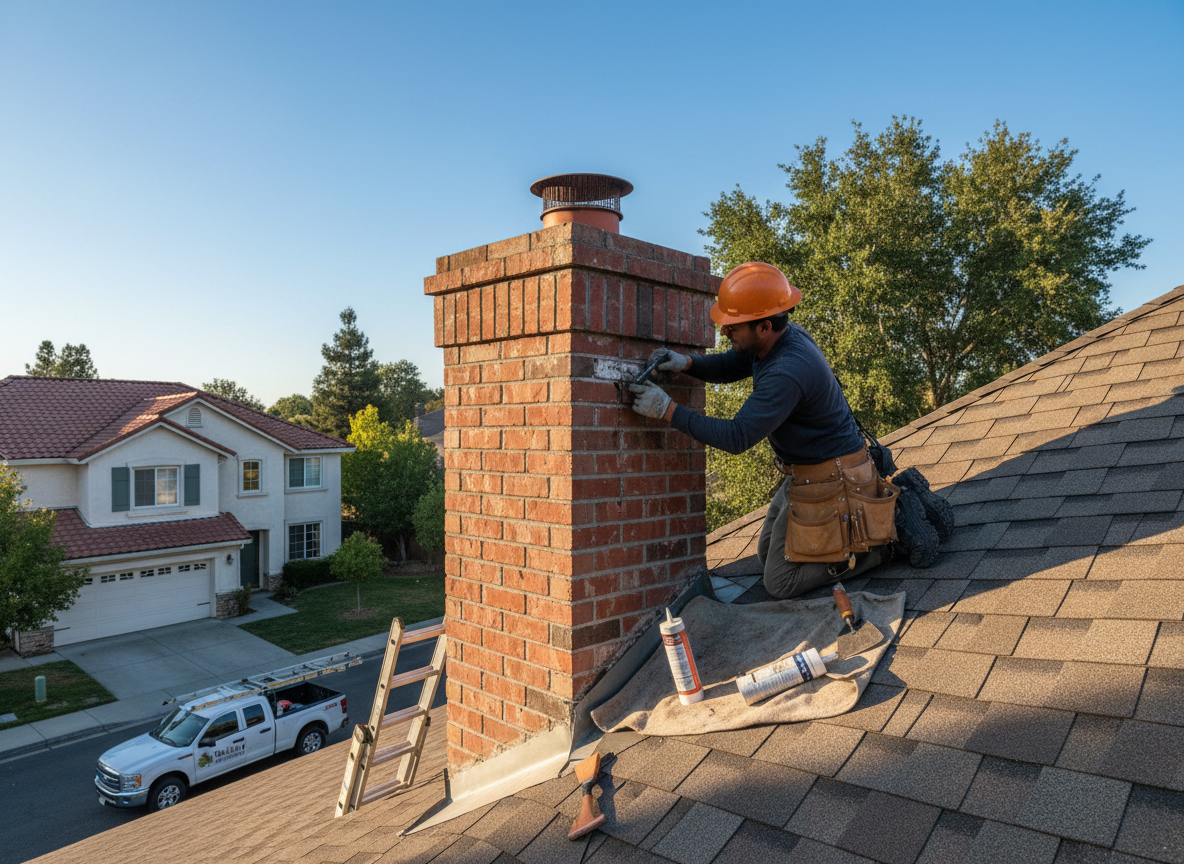
Oakley’s housing stock is dominated by early-1900s brick homes whose chimneys were built with lime mortar and single wythe construction. These stacks sit directly on the roof deck, so when the crown cracks or the step flashing corrodes, water travels down the flue or behind the brick and shows up as stains in upstairs ceilings. Freeze-thaw cycles typical of Hamilton County winters widen those hairline cracks each spring, turning a small seep into a full interior repair job if left alone.
We start every Oakley job by walking the roof with a moisture meter and checking the crown, flue tile joints, and counter flashing where the chimney meets asphalt shingles. Many leaks we see originate at the cricket behind the chimney rather than the crown itself; water ponds there during heavy summer storms and works under the shingles. We remove the old flashing, install new lead-coated copper step flashing, and re-point the crown with a Type N mortar mix that matches the original brick’s expansion rate.
Homeowners in Oakley often attempt DIY sealant sprays on the crown, but these products trap moisture inside the masonry and accelerate spalling once temperatures drop. We always advise against painting or coating brick chimneys; proper repair means restoring the original drainage plane so water exits at the roofline instead of migrating inward. All work is done from the roof—no attic demolition unless the leak has already damaged ceiling joists.
Technician insight
In Oakley the thing that catches most people out with chimney leak repair is how the original 1920s brick chimneys sit on the roof deck with no cricket and single-wythe construction. Once the step flashing rusts through, water runs straight down the back of the brick during our heavy spring rains and homeowners think the leak is inside the flue when it is actually behind the masonry.
Oakley Bungalow Attic Stains
Heavy rain left brown water marks on the second-floor ceiling. Inspection showed the cricket behind the chimney had no flashing and the crown was cracked from repeated freeze-thaw cycles. We rebuilt the cricket with new copper flashing and repointed the crown. The homeowner reported no further leaks after the next rain.
How it works
- 1
Site Assessment
We inspect the chimney crown, flashing, and surrounding roof deck from the exterior and check for moisture inside the attic.
- 2
Leak Source Identification
Moisture meter readings and visual checks pinpoint whether water is entering at the crown, step flashing, or cricket.
- 3
Masonry and Flashing Repair
Deteriorated mortar is removed, new flashing is installed, and the crown is rebuilt with compatible mortar.
- 4
Final Water Test
We run a controlled water test to confirm the leak path is sealed before leaving the job.
Pricing
Upfront quotes provided after inspection; price varies with roof pitch, chimney height, and extent of masonry damage.