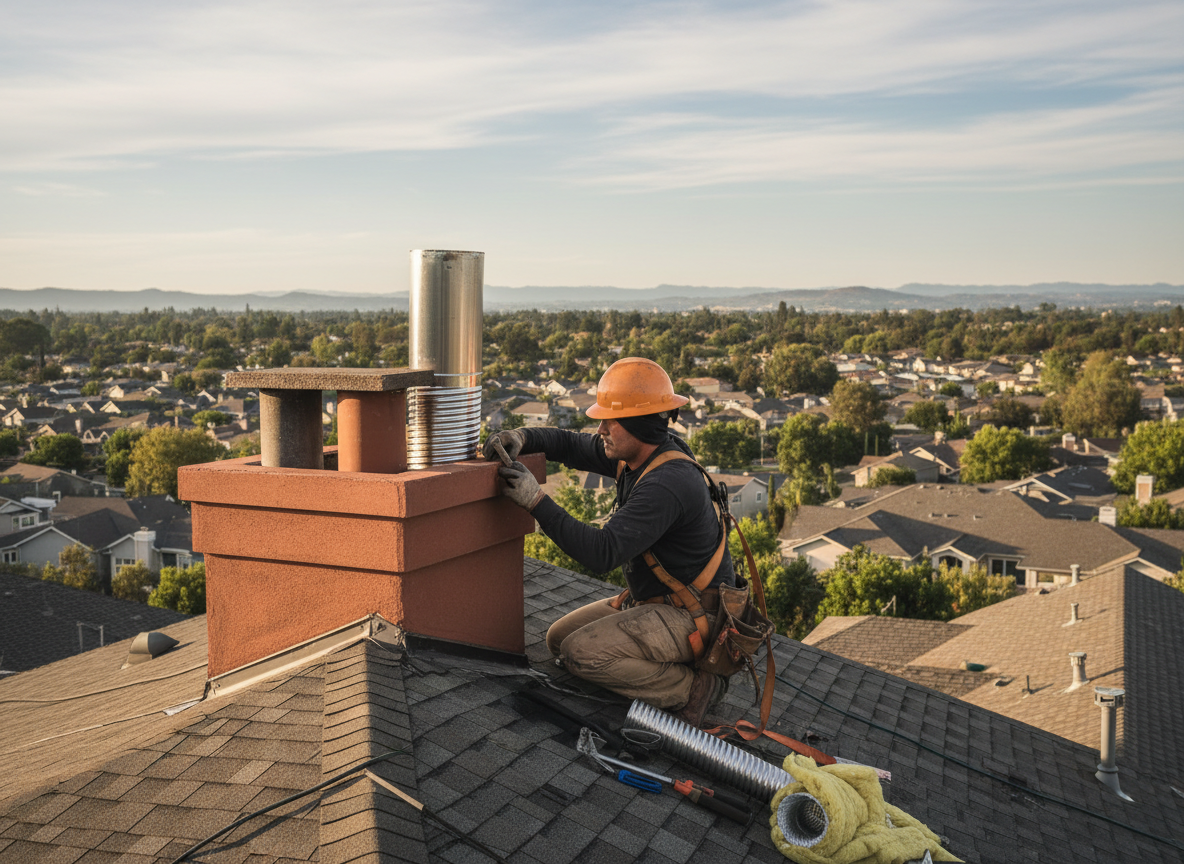
Chimney liners in Oakley homes often degrade from repeated freeze-thaw cycles and acidic creosote buildup that eats through clay or stainless steel. Older brick chimneys common along Madison Road and surrounding blocks frequently have offset flues or narrow interiors that complicate liner insertion. A failed liner allows heat and combustion gases to reach masonry, risking carbon monoxide migration into living spaces or attic insulation. Proper repair requires matching the new liner diameter to the appliance venting needs while preserving draft and code clearances.
Access in Oakley row homes and side-by-side properties along streets like Erie Avenue often means working from the roof only, with limited ability to open chase walls. Technicians must verify that the new liner maintains proper slope and termination height above the roofline to prevent downdrafts during the area’s frequent wind shifts. When water intrusion has already damaged the flue tile, the liner replacement must include a new crown seal and flashing tie-in to stop future moisture entry into the shared masonry.
Homeowners sometimes attempt DIY liner kits that fail to seal at offsets or elbows, leaving gaps that allow smoke spillage. Professional repair includes camera verification before and after to confirm the liner runs continuously from appliance to termination without kinks or restrictions. In the Oakley area, where many homes still use masonry fireplaces alongside modern furnaces, the liner must handle both high-heat wood burning and lower-temperature gas venting without condensation issues.
Technician insight
In Oakley, the thing that catches most people out with chimney liner repair is the shared masonry between neighboring homes along the older blocks near the railroad tracks. You can’t just drop a new liner straight down without checking how the flue jogs into the common wall, or you end up with a blocked or leaking installation that affects both properties.
Oakley Chimney Liner Collapse
Homeowner reported smoke entering the second-floor bedroom during fireplace use. Camera inspection revealed a collapsed clay liner section where the flue passed through an offset in the shared wall. The old liner was removed from the roof, a new stainless liner was sized and installed with proper centering spacers, and the crown was resealed. Draft test confirmed safe operation with no further smoke migration.
How it works
- 1
Initial Camera Inspection
Technician scopes the full flue length from the appliance connector to the crown to locate cracks, offsets, and creosote deposits.
- 2
Liner Sizing and Material Selection
Measurements determine correct diameter and alloy needed to match the venting requirements of the connected appliances.
- 3
Old Liner Removal and Prep
Existing damaged liner is extracted where possible; debris is cleared and the flue is brushed before new liner insertion.
- 4
New Liner Installation and Sealing
Liner is lowered, centered, and sealed at the appliance and crown with high-temperature materials rated for local conditions.
- 5
Final Draft and Safety Test
Smoke test and draft measurement confirm proper operation before the system is returned to service.
Pricing
Upfront quotes provided after inspection; final cost depends on liner length, diameter, access constraints, and whether offsets require custom fabrication.