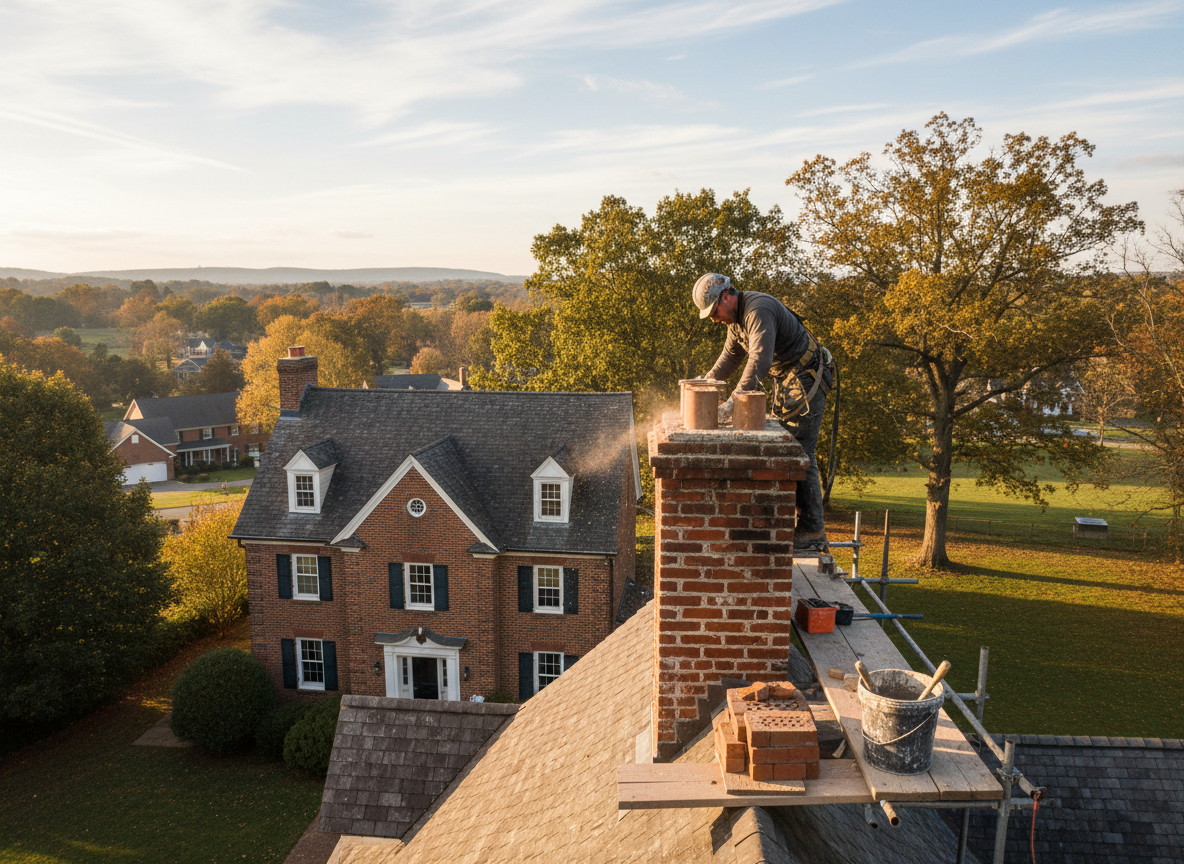
Oakley homes built before the 1950s often feature brick chimneys with lime mortar that has eroded from decades of freeze-thaw cycles common in Hamilton County. Restoration starts with removing loose material and repointing joints with the right mix to match original construction without trapping moisture. Flashing around the roofline must be checked because Cincinnati snow loads and spring rains push water behind the masonry if the lead or copper is cracked.
Many properties near Hyde Park and Madisonville share the same issue: crown caps that have developed hairline cracks allowing water to saturate the flue tile. We replace or recast the crown using a reinforced mix that resists the constant expansion and contraction from local temperature swings. Interior liners are inspected only when the exterior shell is sound, since adding a liner to a compromised stack simply hides the next failure point.
Restoration work in this area also requires attention to the clay tile flue sections that shift when the chimney settles on the clay-heavy soils around Oakley. Each joint is cleaned and packed with refractory cement rated for the wood and gas appliance use common in these older homes. Skipping this step leads to carbon monoxide paths that only appear after the first hard winter freeze.
Common Materials and Edge Cases
We use type N mortar for above-roofline repointing and high-temperature refractory cement inside the flue. Edge cases include chimneys that share a wall with a neighboring structure, where vibration from traffic on Madison Road can loosen previously stable joints. Homeowners often overlook the need to re-seal the crown annually after restoration because the same freeze-thaw action that damaged the original mortar will attack new work within two seasons.
Technician insight
In Oakley the thing that catches most people out with chimney restoration is how quickly the clay soil around these 1920s-1940s homes shifts after a wet spring, opening new cracks in the stack just below the roofline that you only see once you scaffold it.
Cracked Crown on a Madison Road Chimney
The homeowner noticed water stains on the second-floor ceiling after a January thaw. We found the crown had separated along two sides and water had traveled down the flue tile joints. We removed the failed crown, recast it with a reinforced mix, repointed the upper eight courses, and resealed the flashing. No further staining appeared after the next freeze cycle.
How it works
- 1
Site Assessment
Walk the roof and interior to map every crack, missing brick, and failed flashing on the chimney stack.
- 2
Masonry Preparation
Remove loose mortar and damaged brick while protecting the roof membrane and surrounding shingles.
- 3
Crown and Joint Repair
Recast or repair the crown and repoint all joints with material matched to the original construction.
- 4
Flashing and Final Seal
Replace or reseal step flashing and apply a breathable water repellent to the restored surfaces.
- 5
System Test
Run a smoke test and confirm draft before leaving the site.
Pricing
Upfront quotes after on-site inspection; final cost depends on height, extent of masonry loss, and whether crown or flue tile work is required.