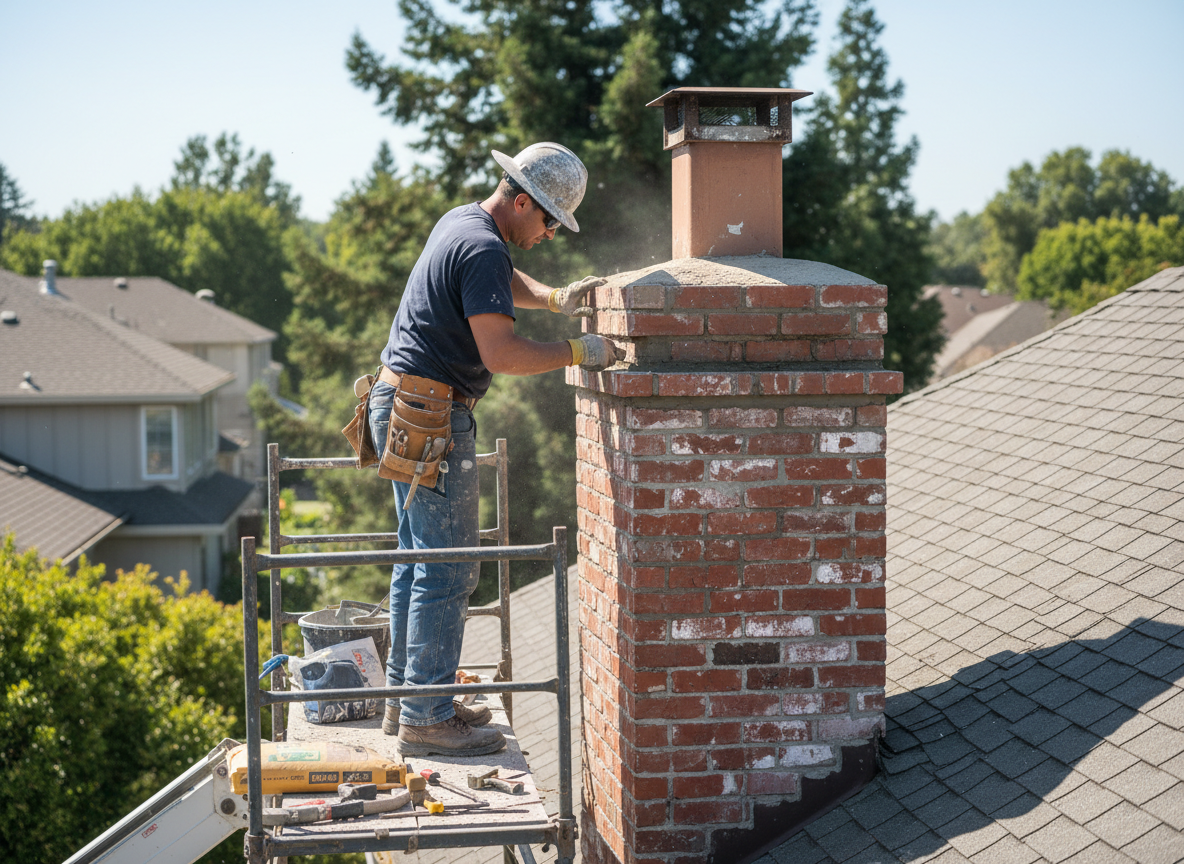
Oakley features many early 1900s brick homes whose chimneys were built with lime mortar that has now eroded from decades of Midwest freeze-thaw cycles. Tuckpointing requires cutting out the old mortar to a consistent half-inch depth without damaging the surrounding brick faces, then packing fresh mortar that matches the original color and texture so the joint lines remain visually straight. Skipping the proper depth or using modern Portland cement mixes often leads to faster cracking because the new material expands differently than the original lime when temperatures swing.
Water penetration is the main driver of joint failure here. Rain and snow collect on the chimney crown and leak behind loose mortar, then freeze and push the joints apart. On the north-facing sides of Oakley homes this damage shows up first because those surfaces stay shaded longer after storms. A thorough tuckpointing job also checks the flashing where the chimney meets the roof; if that lead or step flashing has pulled away, simply repointing the brick will not stop interior leaks.
Access on Oakley streets is often limited by narrow driveways and mature trees, so crews must stage equipment carefully to avoid damaging slate or asphalt roofs. Matching the mortar color on site with small test batches prevents the patched sections from standing out once everything cures. Homeowners should expect the work to take one to two days depending on chimney height and how many sides need attention.
Technician insight
In Oakley, the thing that catches most people out with chimney tuckpointing is how the clay-heavy soil causes older brick homes to settle unevenly, which opens up joints on the south and west faces first; homeowners often only notice the north side damage and miss the real structural stress points.
Northside Joint Failure on a Hyde Park Border Home
Owner called after spotting white efflorescence on the chimney. Inspection revealed failed mortar on two sides plus pulled flashing. We cut out the deteriorated joints, repointed with a lime-based mix matched to the original, and resealed the flashing. The chimney now sheds water without staining the brick.
How it works
- 1
Site Inspection
We examine every accessible joint, note water stains, and check crown and flashing condition from the ground and roof.
- 2
Mortar Removal
Old mortar is cut out to a uniform depth using hand tools to avoid spalling the brick edges.
- 3
Joint Packing
Fresh mortar is pressed in layers and tooled to match the original profile and color of surrounding joints.
- 4
Final Cleanup and Check
Excess material is removed, the site is swept, and the chimney is inspected for a weathertight seal.
Pricing
Upfront quotes after inspection; cost driven by chimney height, number of sides, and extent of joint damage.