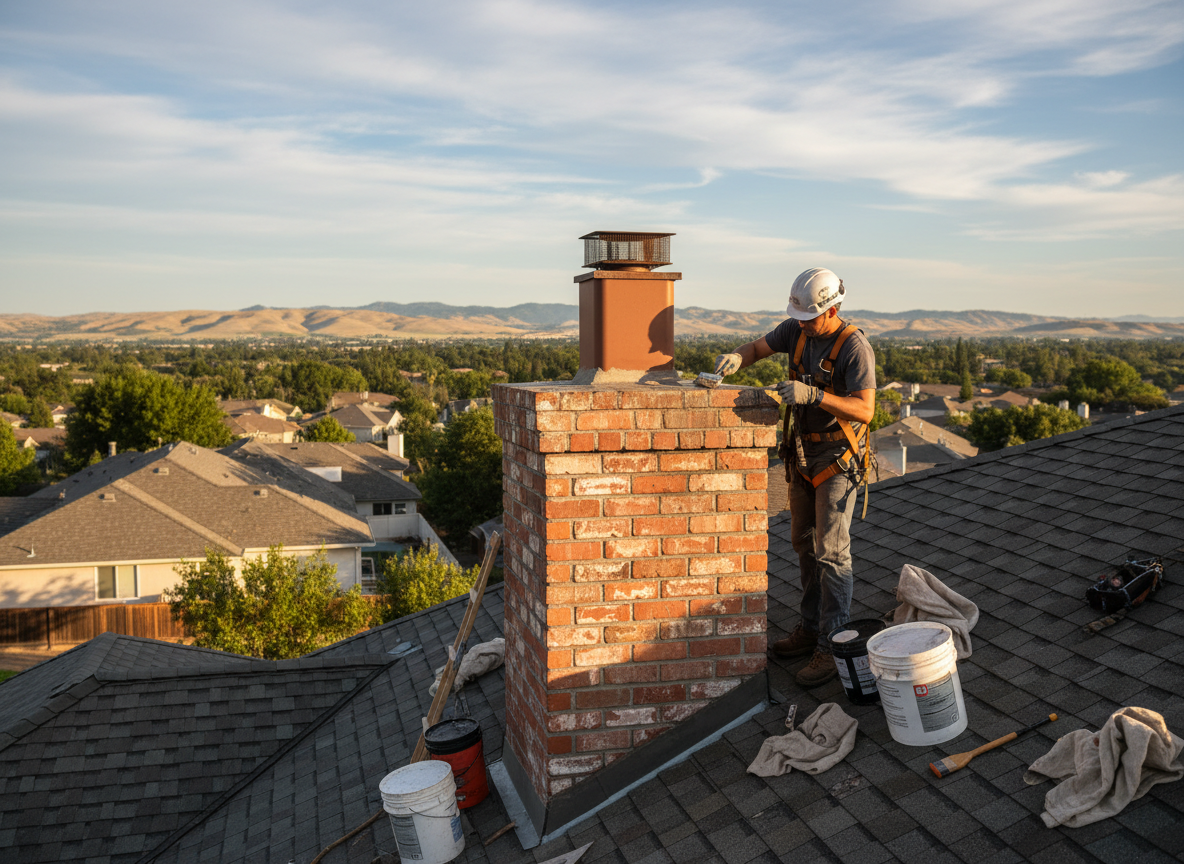
Oakley homes often feature brick chimneys built decades ago that absorb rainwater through porous mortar and flue liners. Without proper waterproofing, moisture travels downward into attics and living spaces, especially after heavy spring and fall rains typical in Hamilton County. We apply breathable masonry sealers that allow vapor to escape while blocking liquid water, and we pay close attention to crown cracks and flashing transitions where most failures start.
Edge cases we see regularly include shared chimneys between neighboring Oakley properties and stacks that have been painted, which traps moisture behind the coating. In these situations we first remove failed coatings, repair deteriorated bricks with matching materials, then install a new chimney cap and step flashing before the final sealer coat. Skipping the prep work leads to recurring staining within two seasons.
Code requirements in Cincinnati call for proper termination heights above the roofline and secure flashing at the roof deck. We verify these details during every Oakley waterproofing visit because inspectors flag non-compliant work quickly. Homeowners should also watch for white efflorescence on interior walls, a sign water has already migrated through the chimney.
Seasonal Timing
Schedule waterproofing in late summer or early fall before freeze-thaw cycles begin. Winter moisture trapped inside masonry expands and spalls bricks, turning a simple sealer job into full tuckpointing.
Common Materials Used
We use silane-siloxane penetrating sealers rated for 10-plus years of exposure and stainless-steel caps sized to the exact flue dimensions found on Oakley two-story homes.
Technician insight
In Oakley the thing that catches most people out with chimney waterproofing is painted brick on 1920s-1940s homes. The paint traps moisture behind it so the sealer fails in one season unless we strip the coating first.
Oakley Two-Story Brick Home
Water stains appeared on the second-floor ceiling after repeated rains. We found deteriorated crown mortar and failed step flashing on the east side. After repairing the crown, replacing the flashing, and applying two coats of penetrating sealer, the leaks stopped and the homeowner avoided interior drywall replacement.
How it works
- 1
Initial Inspection
We climb the roof and examine the crown, flue, flashing, and brick faces for cracks and prior repairs.
- 2
Surface Preparation
Loose mortar is removed, efflorescence is cleaned, and any painted surfaces are stripped where needed.
- 3
Repairs and Sealing
Crown and flashing fixes are completed, then two coats of penetrating sealer are applied with proper drying time between coats.
- 4
Final Check
We test water runoff and document the finished condition for the homeowner.
Pricing
Cost depends on chimney height, number of flues, and existing damage; we provide upfront quotes after inspection.