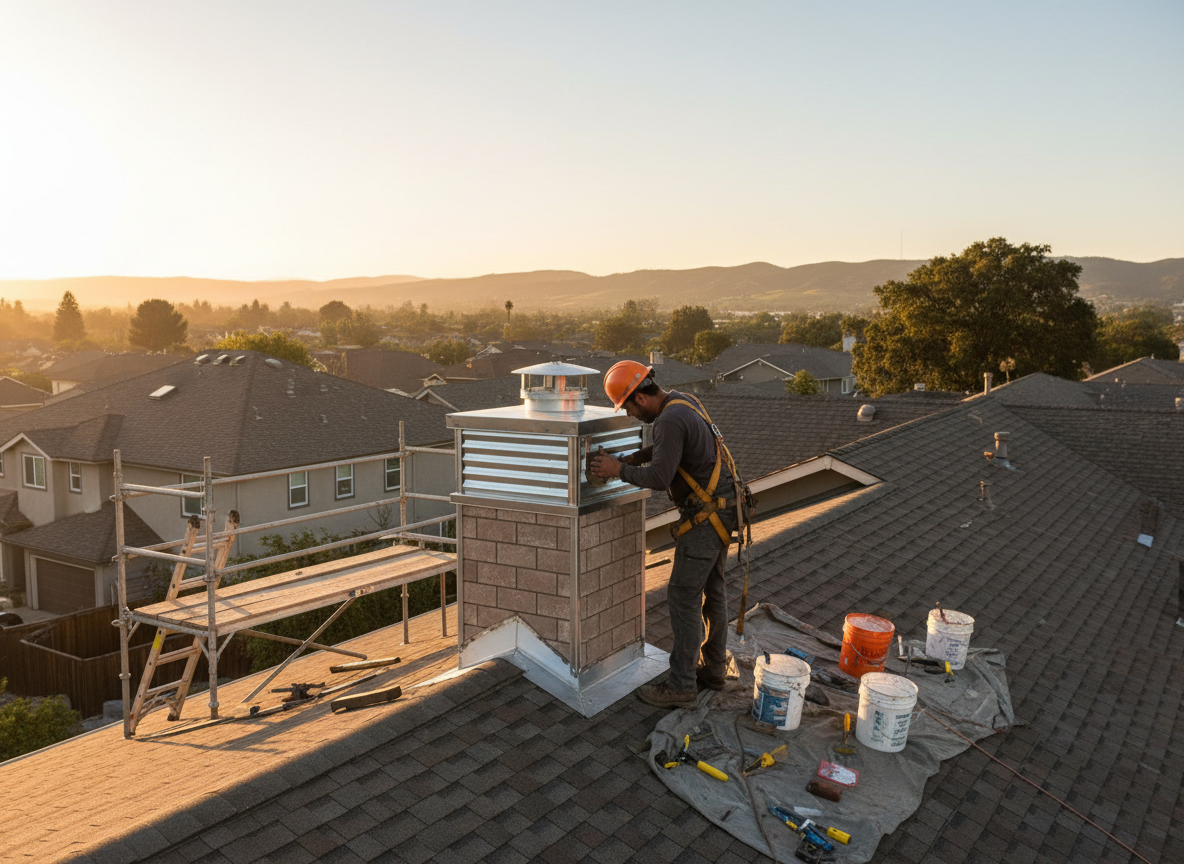
Prefabricated chimneys in Oakley homes often consist of metal sections that expand and contract with Ohio's freeze-thaw cycles. Over time this movement loosens joints and allows water to enter at the roof line or where the chimney passes through attics. Technicians at Unity Wrench inspect the entire chase, checking for rust on the inner flue and gaps in the outer casing that standard masonry repairs cannot address.
Many two-story homes built in the 1970s and 1980s around Oakley use these systems because they were faster to install than brick. The lighter weight reduces load on older foundations but creates different failure points when wind-driven rain from the west hits the metal caps. Proper repair requires removing the damaged section, replacing the insulation sleeve, and resealing with high-temperature silicone rated for the local temperature swings rather than generic caulk.
Homeowners sometimes attempt to patch visible rust with tape or spray foam, which traps moisture and accelerates corrosion inside the flue. A correct fix includes verifying that the chimney still meets current clearance requirements to nearby combustibles and that the cap prevents animal entry common in the tree-lined streets of Oakley and Hyde Park.
Technician insight
In Oakley the thing that catches most people out with prefabricated chimney repair is the way older two-story homes on the slight slopes near Madison Road trap water against the metal chase during heavy spring rains. Homeowners assume a roof patch will fix it, but the real issue is usually the unsealed collar where the prefab unit meets the attic floor.
Leaking Prefab Chimney on a Two-Story Oakley Home
Water stains appeared on the second-floor ceiling after a March storm. Inspection revealed rusted joints where the metal sections passed through the attic. The damaged upper two sections were replaced, new seals installed, and the cap reseated. No further leaks occurred during the next heavy rain.
How it works
- 1
Initial Inspection
Examine the full length of the prefabricated chimney from roof to appliance connection, noting any separation at joints or water staining on interior walls.
- 2
Section Removal
Disconnect and safely lower damaged metal sections while protecting surrounding roofing and attic insulation.
- 3
Component Replacement
Install new flue pipe, insulation wrap, and outer casing pieces matched to the original manufacturer specifications.
- 4
Sealing and Testing
Apply high-temperature sealant at all new joints, reinstall the cap, and perform a smoke test to confirm draft and water tightness.
Pricing
Upfront quotes provided after on-site inspection; final cost depends on chimney height, number of sections requiring replacement, and roof access conditions.