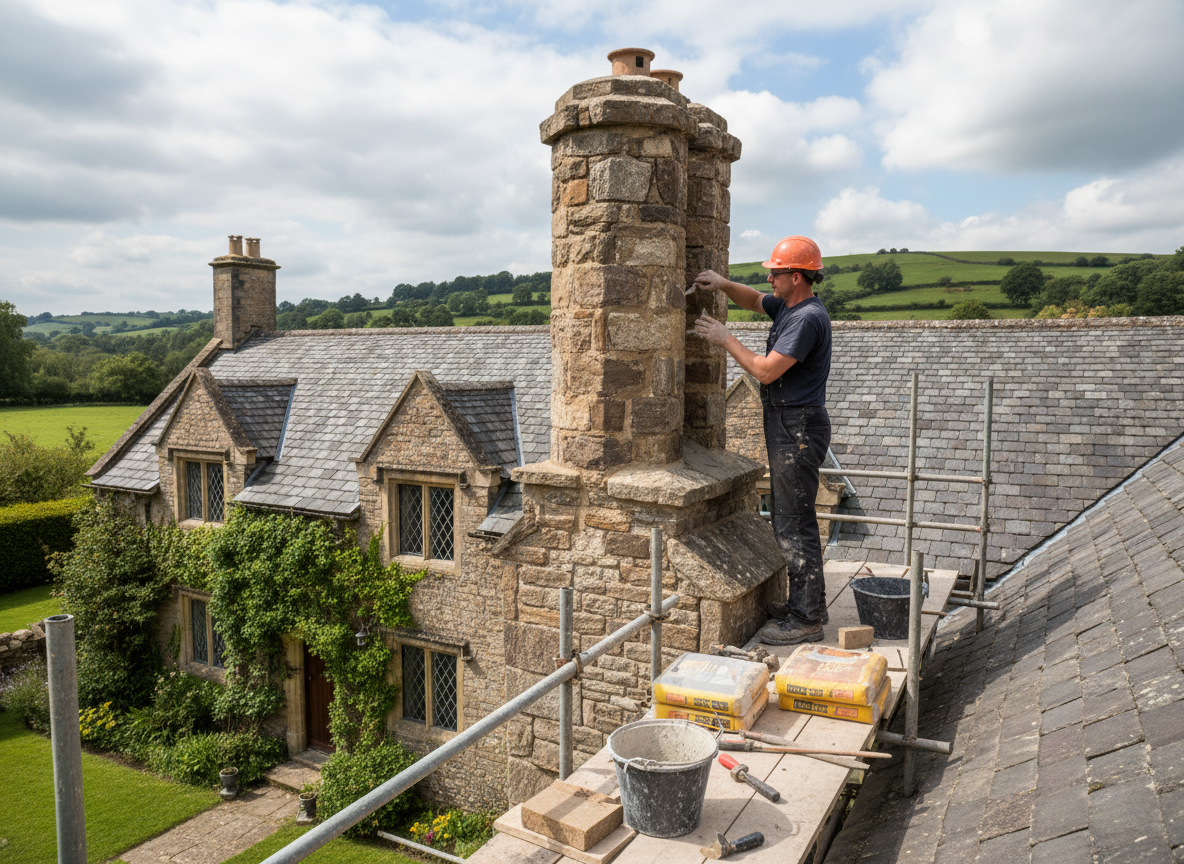
Oakley homes built in the early to mid-1900s often feature limestone chimneys set with lime-based mortar that has lost cohesion after decades of Cincinnati freeze-thaw cycles. Water enters hairline joints during winter thaws, then expands when temperatures drop again, pushing stones out of alignment and allowing creosote staining inside the flue. Repair begins with a full-height inspection that checks both the exterior stack and the attic penetration for hidden separation at the roof line.
Stone replacement requires matching the original limestone texture and bedding depth so the new pieces do not create stress points that accelerate cracking elsewhere. We repoint using a Type N mortar compatible with the soft original limestone rather than modern Portland mixes that can spall the surrounding stone. Edge cases include chimneys that lean because the original footing sits on fill soil common in Oakley’s older blocks; these require temporary bracing before any mortar work.
Homeowners sometimes attempt DIY tuck-pointing with the wrong mortar or caulk, which traps moisture and forces larger repairs later. We always verify that the flue liner remains intact after exterior work and confirm proper clearance to combustible framing at the roof deck. Every job ends with a written report noting any remaining code concerns so the homeowner can address them before the next heating season.
Seasonal Considerations
Cincinnati winters accelerate stone delamination when daytime meltwater refreezes overnight. Scheduling inspection before the first hard freeze lets us stabilize loose stones and apply breathable sealers only where the stone itself is sound.
Technician insight
In Oakley, the thing that catches most people out with stone chimney repair is the original limestone sitting on shallow footings over fill soil; once the stack starts to lean, simply repointing the joints will not stop the movement and the whole crown can shift during the next freeze cycle.
Leaning Limestone Stack on a 1920s Oakley Home
Homeowner noticed daylight through mortar joints after a heavy January freeze. We found the stack had separated at the roof line and several cap stones were loose. After temporary bracing we replaced six deteriorated limestone units and repointed the full height with compatible mortar, then re-flashed the intersection. The chimney now stands plumb and no longer admits water.
How it works
- 1
Initial Site Assessment
We examine the full exterior stack, attic penetration, and flashing details to locate loose stones, eroded mortar, and water entry points.
- 2
Mortar and Stone Evaluation
Samples of existing mortar are checked for composition so replacement matches the original limestone’s expansion characteristics.
- 3
Targeted Repair Work
Failed stones are cut out and replaced; joints are raked and repointed with compatible mortar while maintaining the chimney’s original profile.
- 4
Final Verification
We confirm structural alignment, proper flashing integration, and absence of new water paths before leaving the site.
Pricing
Upfront quotes after on-site inspection; cost driven by number of stones needing replacement and height of the stack.